Account
Teams
Guide to set up and manage multi-user teams in Maestro for collaborative project management and shared subscription access.
Setting Up TeamsLearn how to invite, manage, and interact with team members on Maestro for collaborative project management. Maestro now supports multi-user teams, allowing organizations to manage projects and subscriptions collectively. This feature is especially beneficial for teams relying on the dashboard to streamline workflows, such as *Virtuoso *users.
Team Roles and Permissions
| Role / Permissions | ✔ Owner | ✔ Admin | ✔ Developer | ✔ Member |
|---|---|---|---|---|
| Projects (Full Access) | ✔ | ✔ | ✔ | Read-Only |
| Webhooks | ✔ | ✔ | ✔ | ✘ |
| Subscriptions | ✔ | ✔ | ✘ | ✘ |
| Manage Team Members | ✔ | ✔ | ✘ | ✘ |
| View Team Members | ✔ | ✔ | ✔ | ✔ |
| Manage Account | ✔ | ✔ | ✘ | ✘ |
| Delete Account | ✔ | ✘ | ✘ | ✘ |
| Enable/Require MFA | ✔ | ✔ | ✘ | ✘ |
Prerequisites
Before creating teams, ensure you have completed the following:- Create an Account if you don’t already have one.
Steps to Create a Team
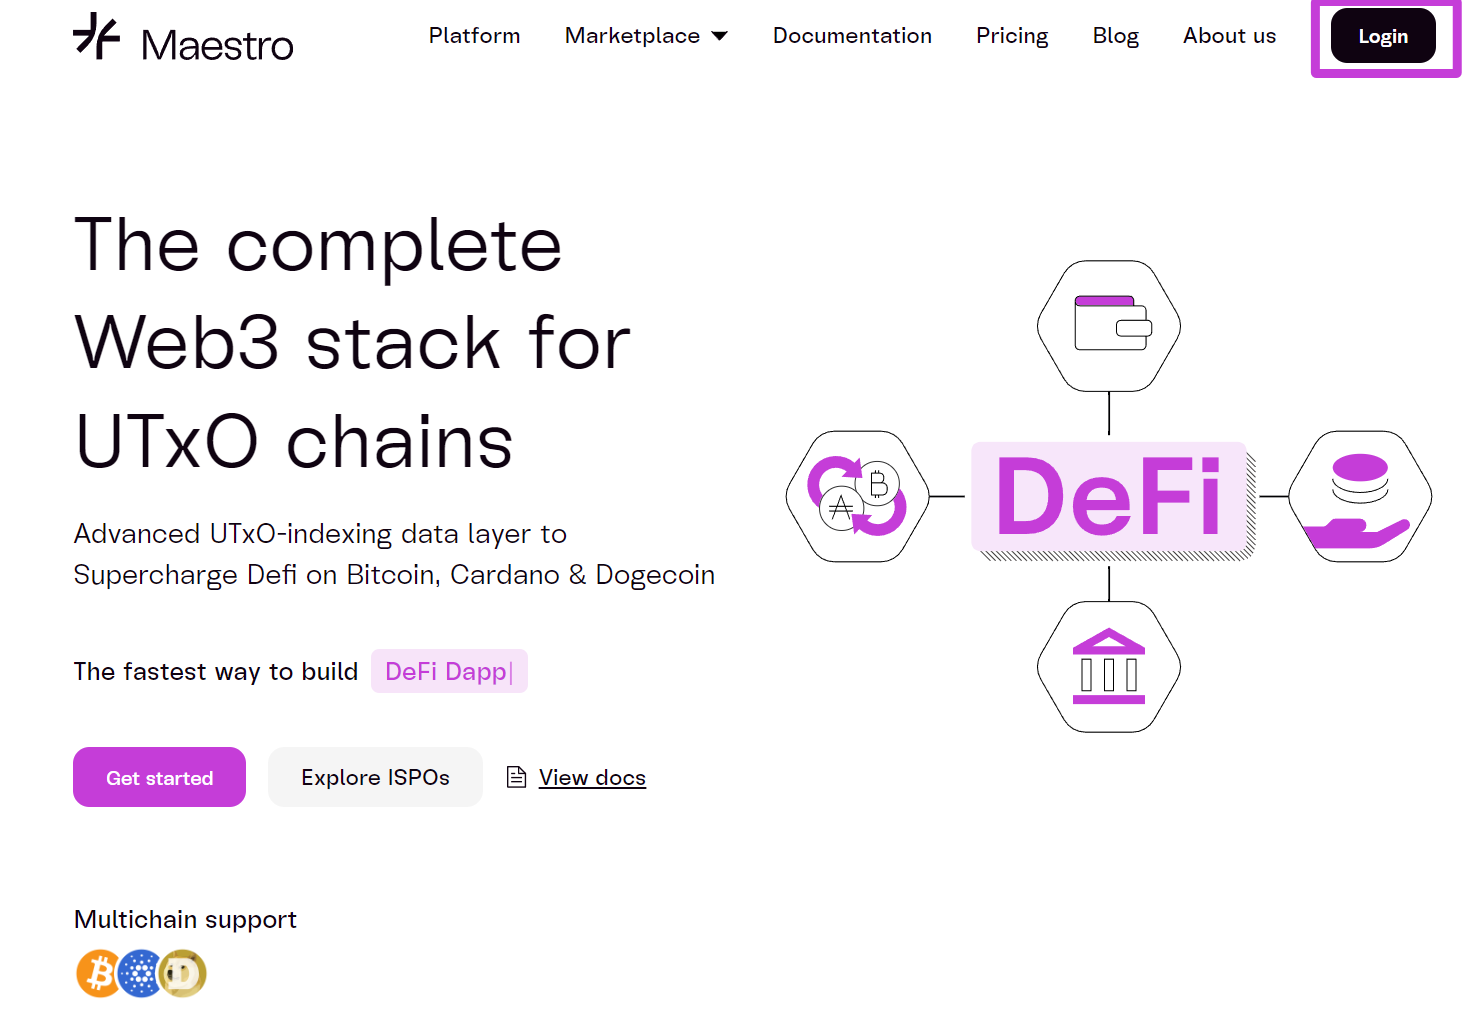
1. Log in to Your Maestro Account:
- Use your credentials to access the Maestro Dashboard.
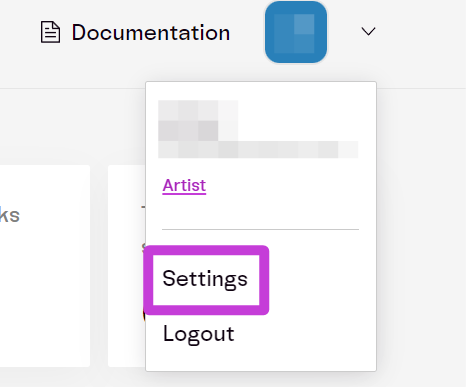
2. Access Account Settings:
- Click your profile icon at the top-right corner.
- Select
Settingsfrom the dropdown menu.
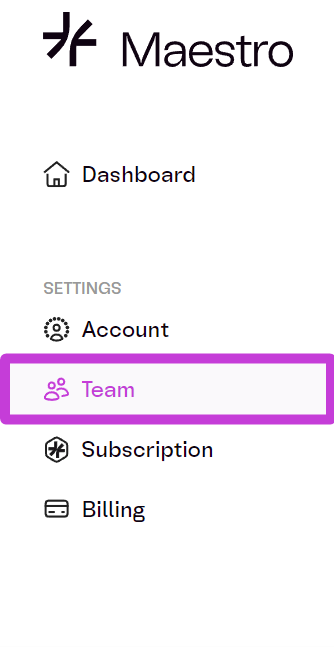
- Select
Teamon the left panel.
- In the Teams section, enter a
Team Name** **and clickSaveto create your team.

You can rename your team later if needed.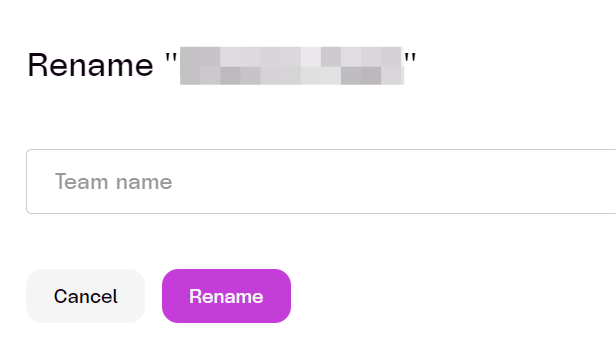
Steps to Invite Team Members
- On the Teams page, enter the email address of the person you wish to invite.

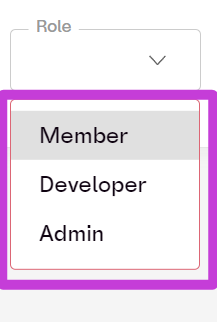
- Choose a Role (Admin, Developer, or Member) from the dropdown.
- Click
Invite.

- Click
Add
The user will receive an email invitation, which they must accept to join the team.

Steps to Manage Team Members:
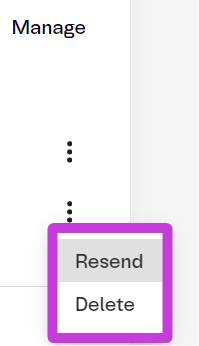
- The Team page lists all current team members, along with their roles and Multi-Factor Authentication (MFA) status.
- You can Edit, Resend an Invitation, or Delete users using the buttons in the **Manage **column.
Notes
- Only the Owner can delete the team or transfer ownership.
- **Admins **can manage users but cannot change the team name or delete the team.
- Invites expire after 7 days if not accepted. Users will need a new invitation after expiration.
- Team members cannot change their own roles; this must be configured by the Owner or Admin.