> ## Documentation Index
> Fetch the complete documentation index at: https://docs.gomaestro.org/llms.txt
> Use this file to discover all available pages before exploring further.
# Teams
> Guide to set up and manage multi-user teams in Maestro for collaborative project management and shared subscription access.
**Setting Up Teams**
Learn how to invite, manage, and interact with team members on Maestro for collaborative project management. Maestro supports multi-user teams, allowing organizations to manage projects and subscriptions collectively. This feature is especially beneficial for teams relying on the dashboard to streamline workflows.
***
# Team Roles and Permissions
| **Role / Permissions** | ✔ **Owner** | ✔ **Admin** | ✔ **Developer** | ✔ **Member** |
| ---------------------- | ----------- | ----------- | --------------- | ------------ |
| Projects (Full Access) | ✔ | ✔ | ✔ | Read-Only |
| Webhooks | ✔ | ✔ | ✔ | ✘ |
| Subscriptions | ✔ | ✔ | ✘ | ✘ |
| Manage Team Members | ✔ | ✔ | ✘ | ✘ |
| View Team Members | ✔ | ✔ | ✔ | ✔ |
| Manage Account | ✔ | ✔ | ✘ | ✘ |
| Delete Account | ✔ | ✘ | ✘ | ✘ |
| Enable/Require MFA | ✔ | ✔ | ✘ | ✘ |
***
## Prerequisites
Before creating teams, ensure you have completed the following:
* [Create an Account](https://dashboard.gomaestro.org) if you don’t already have one.
***
## Steps to Create a Team
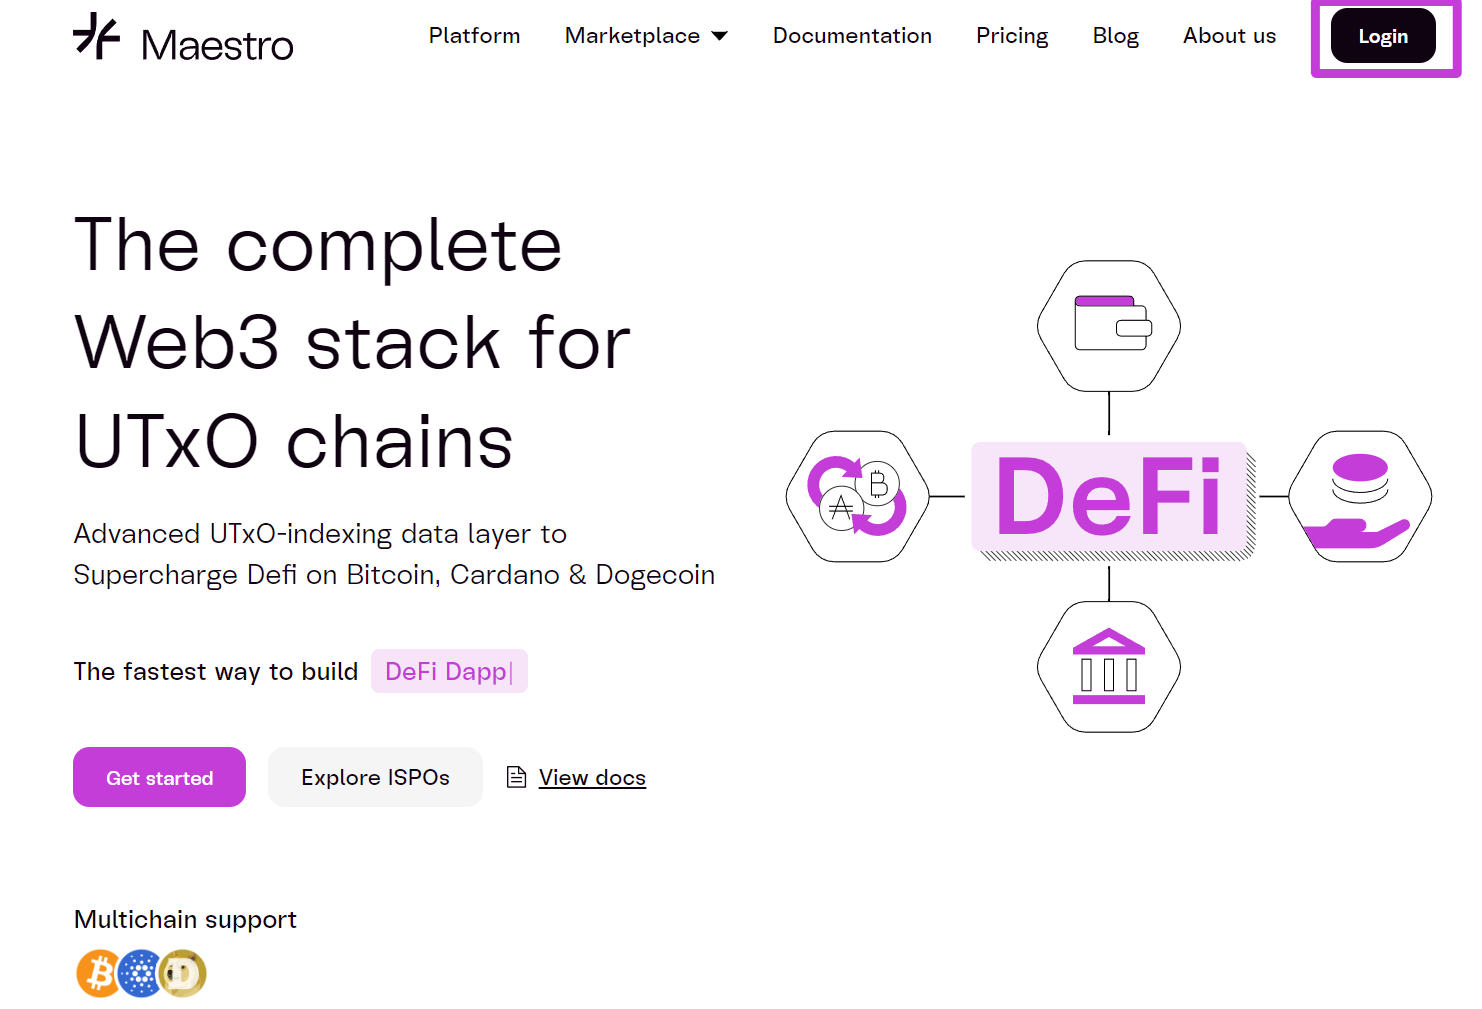
### 1. **Log in to Your Maestro Account:**
* Use your credentials to access the Maestro Dashboard.
 ***
### 2. **Access Account Settings:**
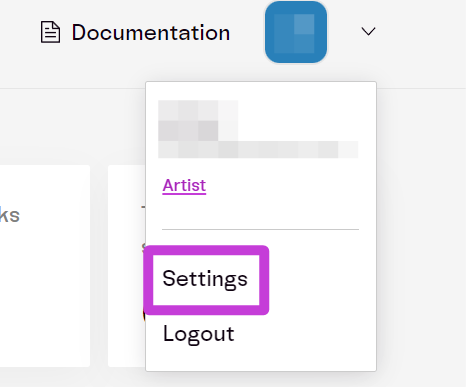
* Click your **profile icon** at the top-right corner.
* Select `Settings` from the dropdown menu.
***
### 2. **Access Account Settings:**
* Click your **profile icon** at the top-right corner.
* Select `Settings` from the dropdown menu.
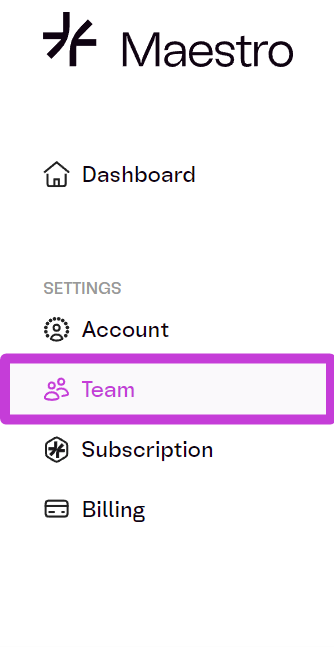
 * Select `Team` on the left panel.
 * In the Teams section, enter a `Team Name`\*\* \*\*and click `Save `to create your team.
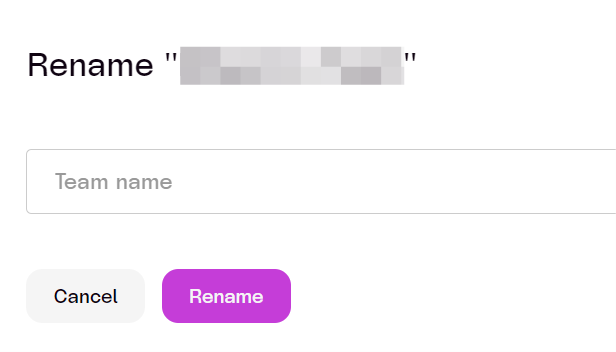
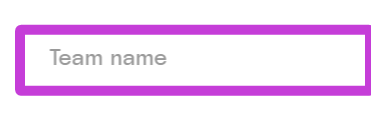 You can rename your team later if needed.
 ***
## Steps to **Invite Team Members**
* On the **Teams** page, enter the email address of the person you wish to invite.
***
## Steps to **Invite Team Members**
* On the **Teams** page, enter the email address of the person you wish to invite.
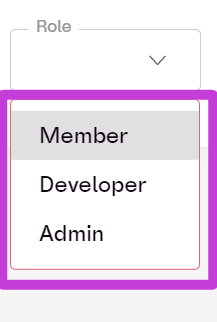
 * Choose a **Role** (Admin, Developer, or Member) from the dropdown.
 * Click `Invite`.
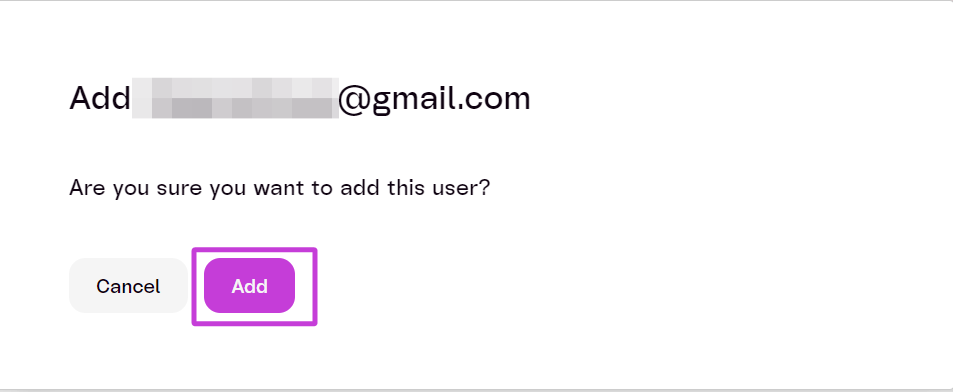
 * Click `Add`
***The user will receive an email invitation, which they must accept to join the team.***
* Click `Add`
***The user will receive an email invitation, which they must accept to join the team.***
 ***
## **Steps to Manage Team Members:**
* The **Team** page lists all current team members, along with their roles and Multi-Factor Authentication (MFA) status.
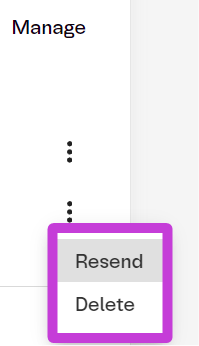
* You can **Edit, Resend an Invitation, or** **Delete** users using the buttons in the \*\*Manage \*\*column.
***
## **Steps to Manage Team Members:**
* The **Team** page lists all current team members, along with their roles and Multi-Factor Authentication (MFA) status.
* You can **Edit, Resend an Invitation, or** **Delete** users using the buttons in the \*\*Manage \*\*column.
 ***
**Notes**
* Only the **Owner** can delete the team or transfer ownership.
* **Admins** can manage users but cannot change the team name or delete the team.
* **Invites expire after 7 days if not accepted. Users will need a new invitation after expiration.**
* Team members cannot change their own roles; this must be configured by the **Owner** or **Admin**.
***
**Notes**
* Only the **Owner** can delete the team or transfer ownership.
* **Admins** can manage users but cannot change the team name or delete the team.
* **Invites expire after 7 days if not accepted. Users will need a new invitation after expiration.**
* Team members cannot change their own roles; this must be configured by the **Owner** or **Admin**.